
- lobstr.io — the action node. Create Squids, add tasks, launch runs, and fetch results.
- lobstr.io Trigger — starts a workflow the moment a run finishes, fails, pauses, or resumes.
Before you start
- A lobstr.io account with credits.
- n8n 1.57.0 or newer, running Node.js 20.15 or newer.
- Your lobstr.io API key — see how to find your API key.
Watch the setup walkthrough
Install the node
lobstr.io is a verified n8n node, so you install it the same way on n8n Cloud and on self-hosted n8n:1
Open the nodes panel
Click the + in the top-right of the canvas.
2
Search for lobstr.io
Type
lobstr.io. The node appears in the results with a verified badge.3
Install it
Click it and confirm the install. Both nodes — lobstr.io and lobstr.io Trigger — are added together.
The package is published as
@lobstrio/n8n-nodes-lobstr. You only need that name if you’re installing manually on a locked-down self-hosted instance — otherwise search is all it takes.Add your credentials
1
Copy your API key
Open the API menu in your lobstr.io dashboard and click Copy.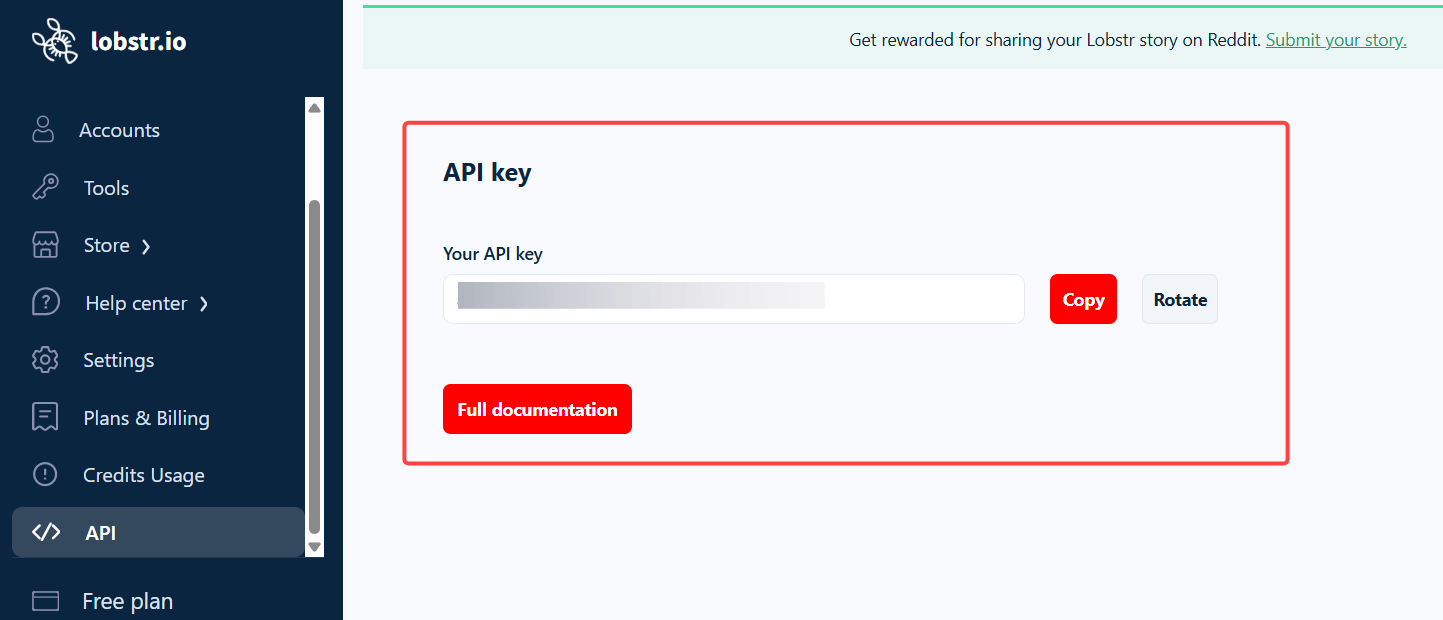
2
Create the credential in n8n
Add a lobstr.io node to a workflow, then create a new lobstr.io API credential and paste the key.
3
Save
n8n verifies the key against lobstr.io as you save, so you’ll know immediately if it’s wrong.
What the node can do
The two ways to run a scrape
Synchronous — Start and Get Results
Run → Start and Get Results launches the run, polls until it finishes, and outputs the scraped rows as items. One node, data comes out the other side. This is the simplest option and the right default for short scrapes. This walkthrough does the whole thing inside n8n — providing the input, triggering the run, and collecting the results:
Or follow it as steps:
1
Squid → Create
Pick a crawler, for example Google Maps Search Export, and create a Squid.
2
Task → Create
Add your tasks — URLs or search parameters, depending on what the crawler accepts.
3
Run → Start and Get Results
Launch it and get the scraped data back as items.
Event-driven — the trigger node
For long runs, split it in two: let the trigger node wake the workflow when the run finishes, then fetch the rows. This is the most common way people use the node.1
Add the lobstr.io Trigger node
Select the Squid you want to watch and pick the events. The default is run.done, which is what most workflows want.
2
Fetch the rows
Add a lobstr.io node set to Result → Get Results, filtered by run, using
{{ $json.id }} from the trigger event.3
Send the data on
Add whatever destination you need — a CRM, a database, a sheet, a Slack message.
Things to know
- Launching a run spends credits, and an n8n trigger can fire far more often than you’d click Launch by hand. Put a filter or a schedule in front of the node so a runaway workflow doesn’t drain your balance.
- Runs launched from n8n are ordinary runs. They appear in your dashboard, count against your slots, and spend the same credits.
- Every run re-processes every task in the Squid’s list. To scrape only new inputs, use Squid → Empty and add fresh tasks before launching.
- Results expire after 28 days on paid plans and 7 days on the free plan — fetch them before then.
If all you want is the data in a spreadsheet or a bucket, you don’t need n8n: lobstr.io can export to Google Sheets or Amazon S3 on its own. Reach for n8n when the data needs transforming, enriching, or routing to several places at once.